
How to Light Your Videos to Look Better
Lighting is a necessary part of creating video.
We might even be able to call it essential since I suppose if there were a total absence of light your video would just be a black frame with audio. But at that point is it a video or just an oversized mp3?
Before we get started please allow me to express a rather poorly sculpted analogy.

A video is a chair (stay with me). A chair has four legs and a surface for you to sit. A chair is a function, or perhaps an idea. A chair is not its individual parts but the sum of its pieces. If you took away two legs or the portion where you can sit, the idea or function would no longer exist. A video is the same! In this analogy our legs of the chair would be filming, sound, lighting and narrative. These four elements hold up our story (seat) and create the video (chair) as a whole!
All that to say, lighting is important by itself but it is more important how your lighting works with filming, audio and narrative to enhance the story you are trying to tell. If you need help with the filming or audio portions you can check them out here, and here.
So let’s get to lighting!
As I briefly touched on above, lighting does more than the actual physicality of blasting your scene with photons. The way in which you blast your photons conveys emotion that helps create a mood and enhances the viewer's ability to connect with what is happening.


Let’s start with the basics
Lighting can get very intricate but this isn’t the place for that. If you do want to go deeper into the hows and whys you can check out my course here. But for now let’s break lighting down to the level of in-camera exposure focusing on highlights, midtones and shadows.
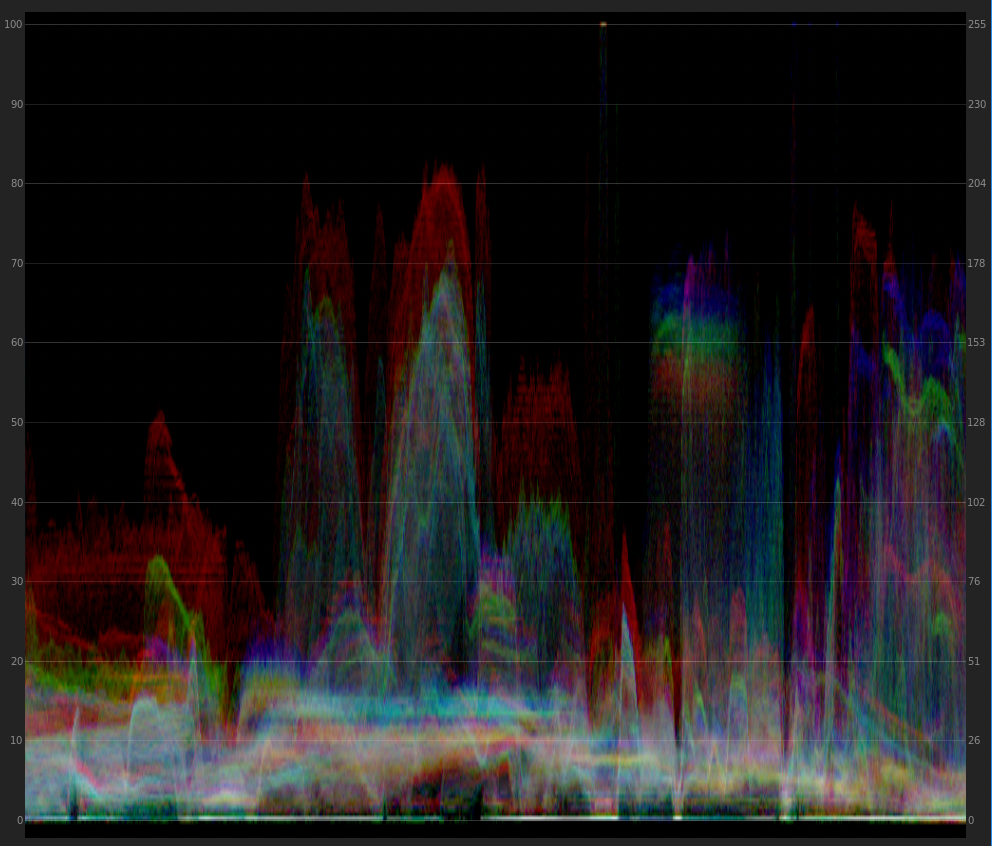
Highlights are the brightest parts of your image. For the sake of exposure and to retain the most information for post production coloring you want to keep your highlights below 100. Your camera most likely has a histogram display. Use it. Make it your BFF. Make sure that the curve isn’t being clipped off at 100 (the right side of the histogram)
Midtones are exactly what they sound like. Roughly speaking they account for around half the tonal range (25%-75%). To be brief if you are not clipping your highlights or shadows but you are using most of the range, your midtones should be fine. However, if you have a gray card, key in the gray to 40%.
Shadows are the bottom 25ish% of your tonal range and account for the darkest parts of your image. You do not want the shadows to be crushed or you will lose information, so again, pull up your histogram and make sure that the left side of the curve is not being cut off. You can tell that you are crushing your shadows in camera if you look at someone wearing black or into the darkest parts of the image and you’re losing details. Are you still seeing details there or is it an unnatural, uniform shade of black? If it’s the latter you need to increase your exposure. If it’s the former, party on.

Three Point Lighting
To shape your light more, whether creating a balanced or punchy look, a three point set up is kind of the old standard. These three lights are:
Key - Main light
Fill - Secondary light
Hair - Lighting from the back of the subject
Generally, the key will be on the side you want lit the most, the fill light will be opposite the key light and the hair light will be in the back and generally aimed down onto the back and top of the head of the person on camera. Ratios with a larger difference between the lights will create a punchy/dramatic look whereas ratios with a small difference will create a flat, muted or even boring light. As I said this is an old standard. Create the look that you want and break the rules.
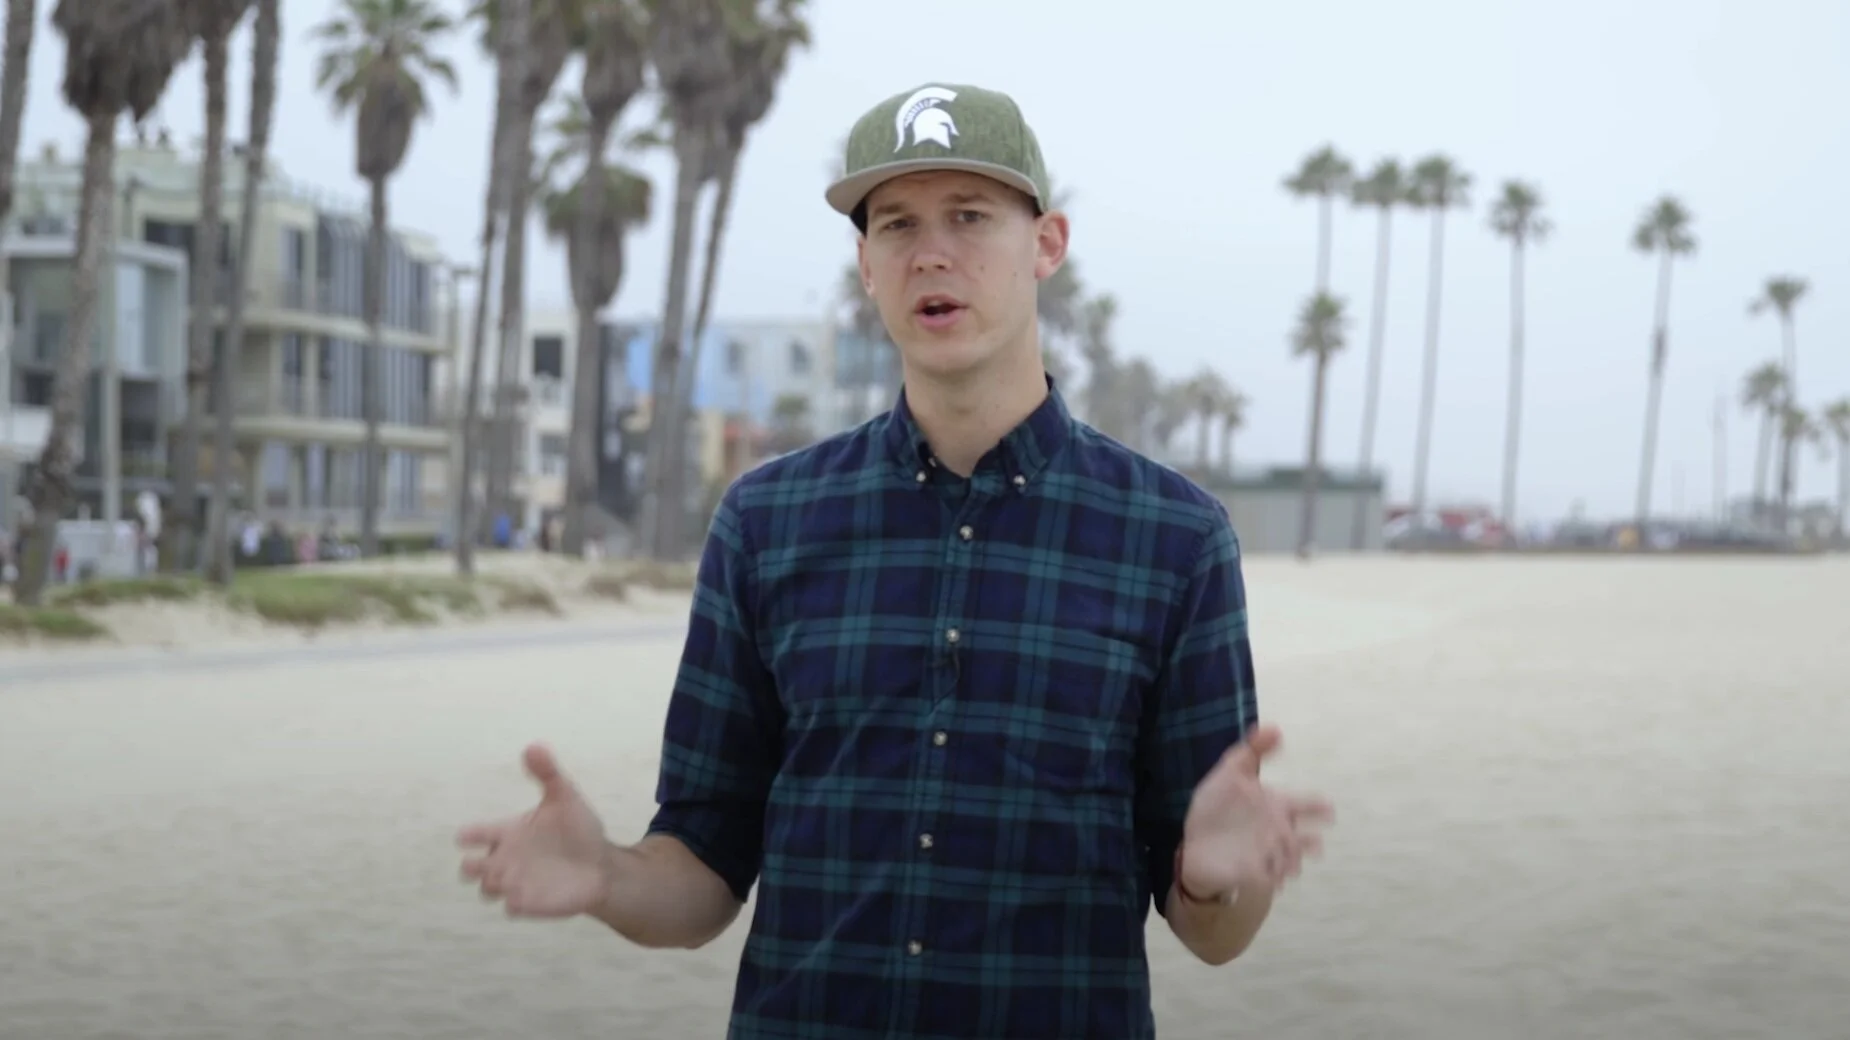

Using Natural Light
If you don’t have lights that you can control your only option is natural light. While harder to manage, you can still shape natural light. You can control the size and softness of the light by cutting it with a shower curtain, thin white sheet, or anything else you have. Instead of positioning the lights you’ll have to position yourself instead.


Artificial Lighting
This is where you will have the most control over the shape of your lighting. So take full control! Turn off all other lights, block windows and start from scratch. To avoid flat lighting you will want to mostly light from one side using the key. Use the fill from an opposing direction to take the edge off any harsh shadows.
If you don’t have lights but would like to get yourself some, this is what I recommend. If you really want lights but have no money to spend on them check out this cool set up from Wistia.
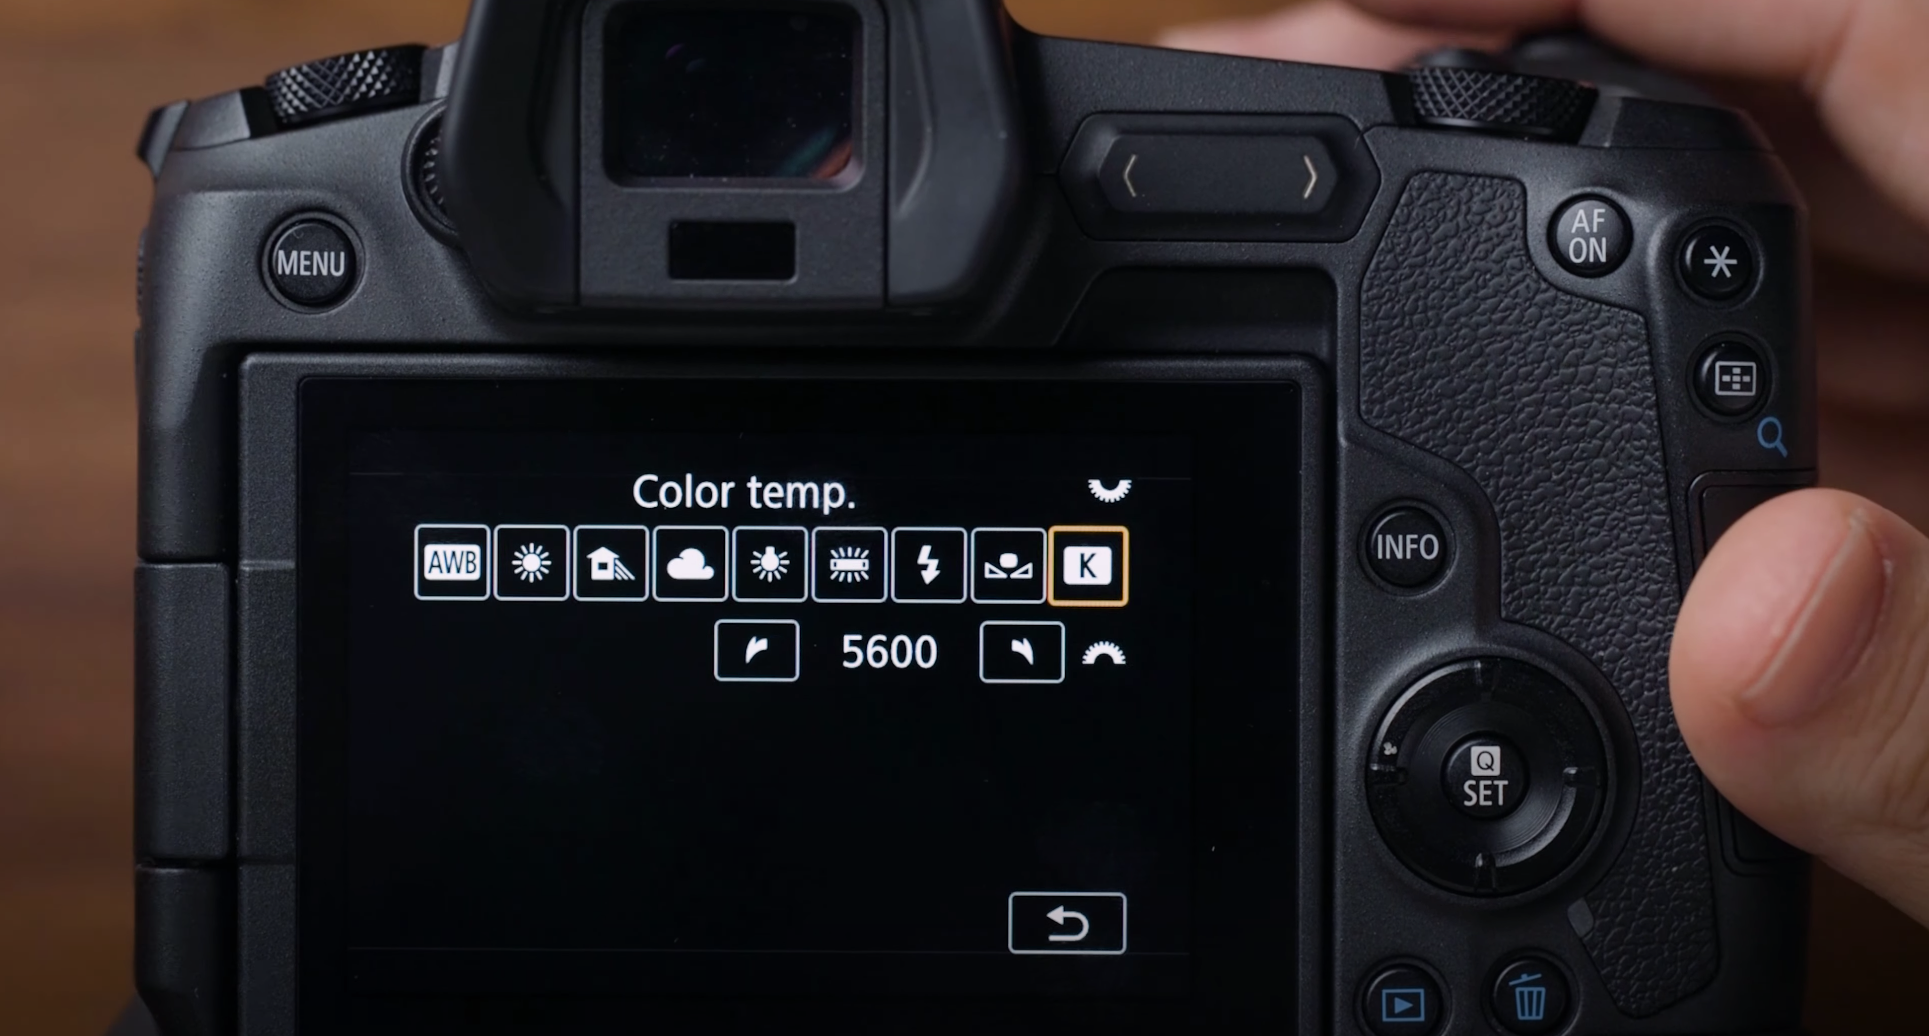
Color Temperature
Some cheaper fluorescent bulbs will give off a red light and cheaper LED lights tend to give off a green light. Try to avoid using these as this is really annoying to try to change in post production, as the color tends to ramp up as the lights get warmer and warmer.
Also do NOT film in auto white balance. Just don’t. Set your white balance to a natural temperature that matches your lights. If you are using daytime lights this will be roughly 5600K.
For way more detail about how and why to light your videos check out my Learn Lighting Course (coming in early 2022).

Overwhelmed by lighting?
Check out what lighting gear & equipment I recommend.