
Blackmagic DaVinci Resolve Mini Panel Review

Have you ever watched the behind the scenes on your favorite movie and they show this massive desk with controls that look like the flight deck of a 747?
Well, here is a smaller version that is 10 times cheaper than those larger $30,000 panels used on TV and Movies.
Let's check out the Blackmagic Design DaVinci Resolve Mini Panel.
First off, this thing is big.
At 16" by 16" of die-cast aluminum, you're going to want to make some room on your desk for this. It conveniently plugs in via USB and also needs AC power too.
$3,000 Mini vs. $1,000 Micro

The bottom half of the $3,000 Mini is actually the same layout and buttons of the $1,000 Micro version.
The representative from Blackmagicdesign I spoke with said the Mini was designed to be the "keep in the office" version, while the Micro was created to be taken on location during your shoot.
The Micro is for quickly correcting footage, throwing a LUT on it, and not really using secondary nodes. Also, the Micro doesn't need AC power and just runs off of a USB cable.
If you want to be a full-time or professional colorist though and have more control over your color grading in Resolve, the Mini is for you.
Compatibility with Other Software
Before I go any further to minimize the comments... you can only use this with Resolve and they have no public plans of supporting any other editing software.
The buttons on this device are so custom to Resolve it wouldn't even make sense to try to use this with Premiere or Final Cut Pro. Only the color wheels would possibly be helpful, but alas, not an option.
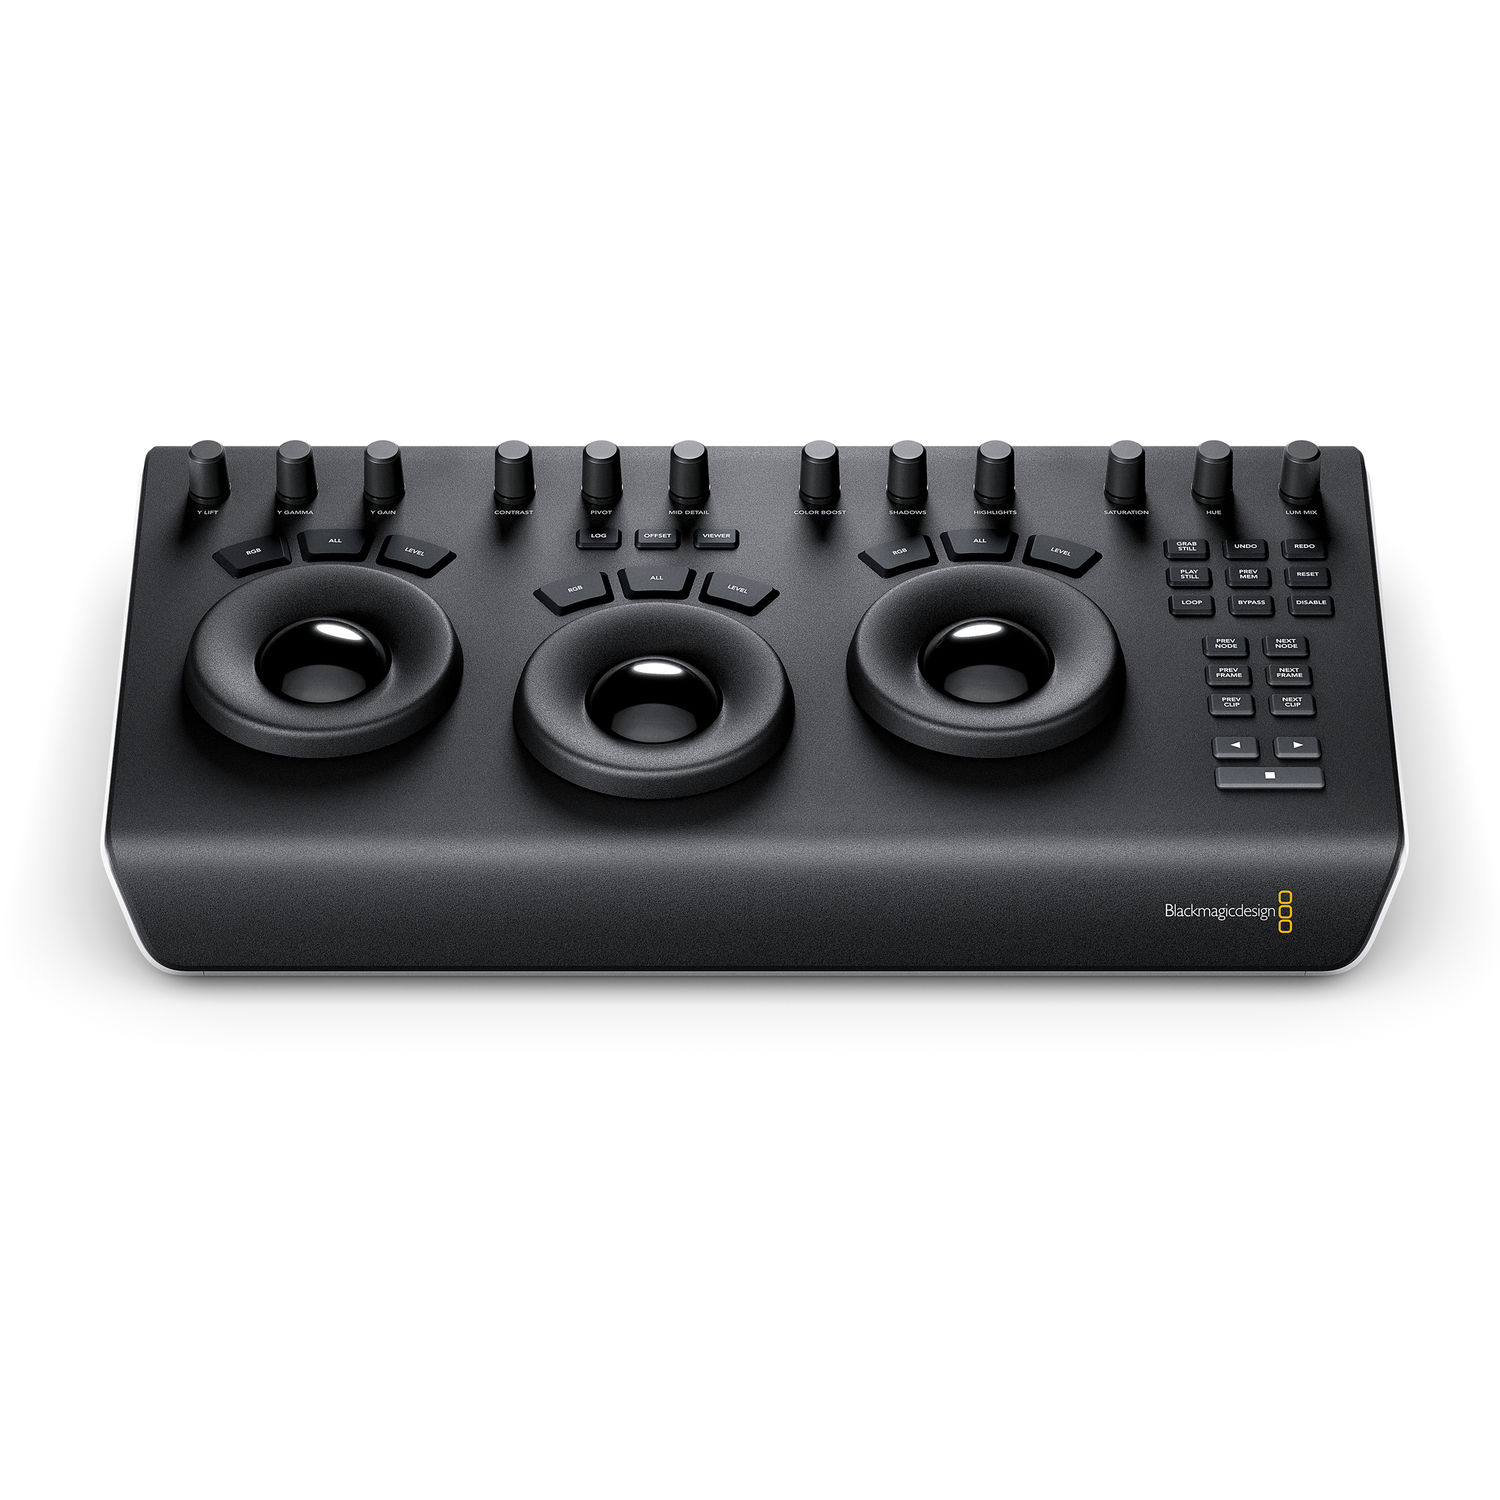
The Bottom Layout
On the bottom half, you have three weighted trackballs and wheels for Lift, Gamma, and Gain. If you're not familiar with those terms, the closest other terms are shadows, mid-tones, and highlights.
The ball controls the color for shifting Lift, Gamma, or Gain towards or away from a color.
The wheel adjusts the amount. Above each wheel are RGB, All, and Level buttons.
Resolve is the only NLE software that uses yRGB color science, which can separate chrominance and luminance, meaning you can change the brightness without changing the color. So normally you'll have these buttons set to all, but you can click Level to control only Brightness & RGB to control only color.
Above the middle wheel, if you hit the offset button the three trackballs and wheels change to control white balance, tint, and offset (which is like an exposure slider, adjusting the brightness of the entire image).
You also have a LOG button to change the wheels into Log mode, where you then have high and low thresholds with a pivot point you can adjust.
Then there is the viewer button, to watch your clip in full-screen.
Above the wheels you have 12 dials.
Y Lift, Y Gamma, Y Gain
Contrast, Pivot, Mid Detail
Color Boost, Shadows, Highlights
Saturation, Hue, Lum Mix
The Right Side
On the right side you have more buttons for: grabbing and playing stills, undo & redo, looping, and more.
In the bottom right are previous and next buttons for nodes, frames, and clips. Plus, playback and stop buttons.
What's cool is that firmware changes have already been made based on user feedback. For example, now if you hold down previous frame, it goes to the first frame, if you hold down next frame, it goes to the last frame, and if you hold reset, it clears all the nodes.
The Top Layout
The top half of the panel, which doesn't come with the Micro panel, is what you're paying $2,000 more for.
Every tool on the color page has its own button on the left side. Then when you click those buttons, the screens and knobs change accordingly.
For example, if you press curves, the knobs then control 0%, 20%, 40%, 60%, 80%, and 100%.
If you're a heavy Resolve user, you'll find a button for almost everything you need to do a lot.

Keyboard Usage
One thing you'll still need to do when using this panel is use your mouse & keyboard.
Blackmagic said that on average you'll have to take your hands off the panel the following percent of the time for each model.
2-5% on the Advanced.
30% on the Mini.
70% on the Micro.
Summary
If you're just getting started with color grading using DaVinci Resolve and want to commit to learning it and getting faster, I'd get the Micro Panel.
If you're trying to color grade full-time and are really comfortable in Resolve, I'd splurge and get the Mini Panel.
For three times the cost you get the screens up top, many more controls and buttons, and a larger unit with room to rest your wrists.
If you don't use Resolve and don't plan to... wait, why are you still here? Haha.
No, but in all seriousness, there are some other panel options like Tangent for other editing software, I just haven't used any of them, so I don't have any opinions or experience to share.
Special thanks to Blackmagicdesign for sending this to me to borrow and test out.
Learn more about the Mini Panel or the Micro Panel on B&H.