
How to Create & Film an Online Course
I have been creating courses for myself and clients for the past six years. Over that time I have watched rocket launches and train crashes. I’ve seen some processes that don’t work and a lot of others that do. I’m going to share some of this with you to help you streamline making your online course.
Online courses are becoming increasing popular as the whole teaching/learning process is being democratized. Everyone from large institutions to small businesses to entrepreneurs are now creating and selling online courses. Experts are realizing the potential of teaching what they know and those eager to learn are realizing they can do so on their own terms.
Creating an online course is a great way to teach people something of value while earning a living or a little money on the side.

Before we begin: This is not a how to film and record yourself tutorial. This write up will focus on how to turn an idea into a course and then how to host your course online!
If you need help with the actual recording/editing check out my other resources where I cover that process in more depth.
Start with an Idea

Obvious place to start and much easier said than done! IF you already know exactly what you want to create then move along to the next step, these are NOT the droids you are looking for. For everyone else keep on, keep’n on.
Believe it or not this is actually one of the harder steps. How do you take something you know, break it down, parse it out into sections that make sense and can stand alone, then record all that into videos someone actually wants to watch, put it online and sell it?
Well… Start here.
Do a brain dump of all the things you could teach
Choose 2-4 ideas that jump out at you the most
Set a timer and do 30 minutes of research into what other courses are out there on the subjects
Can you do better? Offer something more? Offer your content to a different audience?
If the answer is yes AND it’s something you want to do, move on with the idea. If the answer is no then go back to step two and start again.
Turn Your Idea into an Outline

Decide if you’d want to script the entirety of your course or if you’d rather work on an outline. Generally I, and most of my clients work off a pretty robust outline but avoid scripting. Odds are you know a lot about your subject so once you have an outline talking to the camera is easy and more natural. However, some of my clients have used scripts when wording is extremely important or highly complicated.
Whichever you decide, either create the outline or scripts. Once you have these you can now break down your course into lessons that cover a small amount (usually one subject) of material. Now create modules to group similar lessons. Create as many modules as you need until you have your course laid out from start to finish.
It’s important when doing this process to keep everything to a manageable length for you to create and for a student to consume! Don’t go overboard. Think of classes you’ve taken in the past. What methods and teachers held your interest?
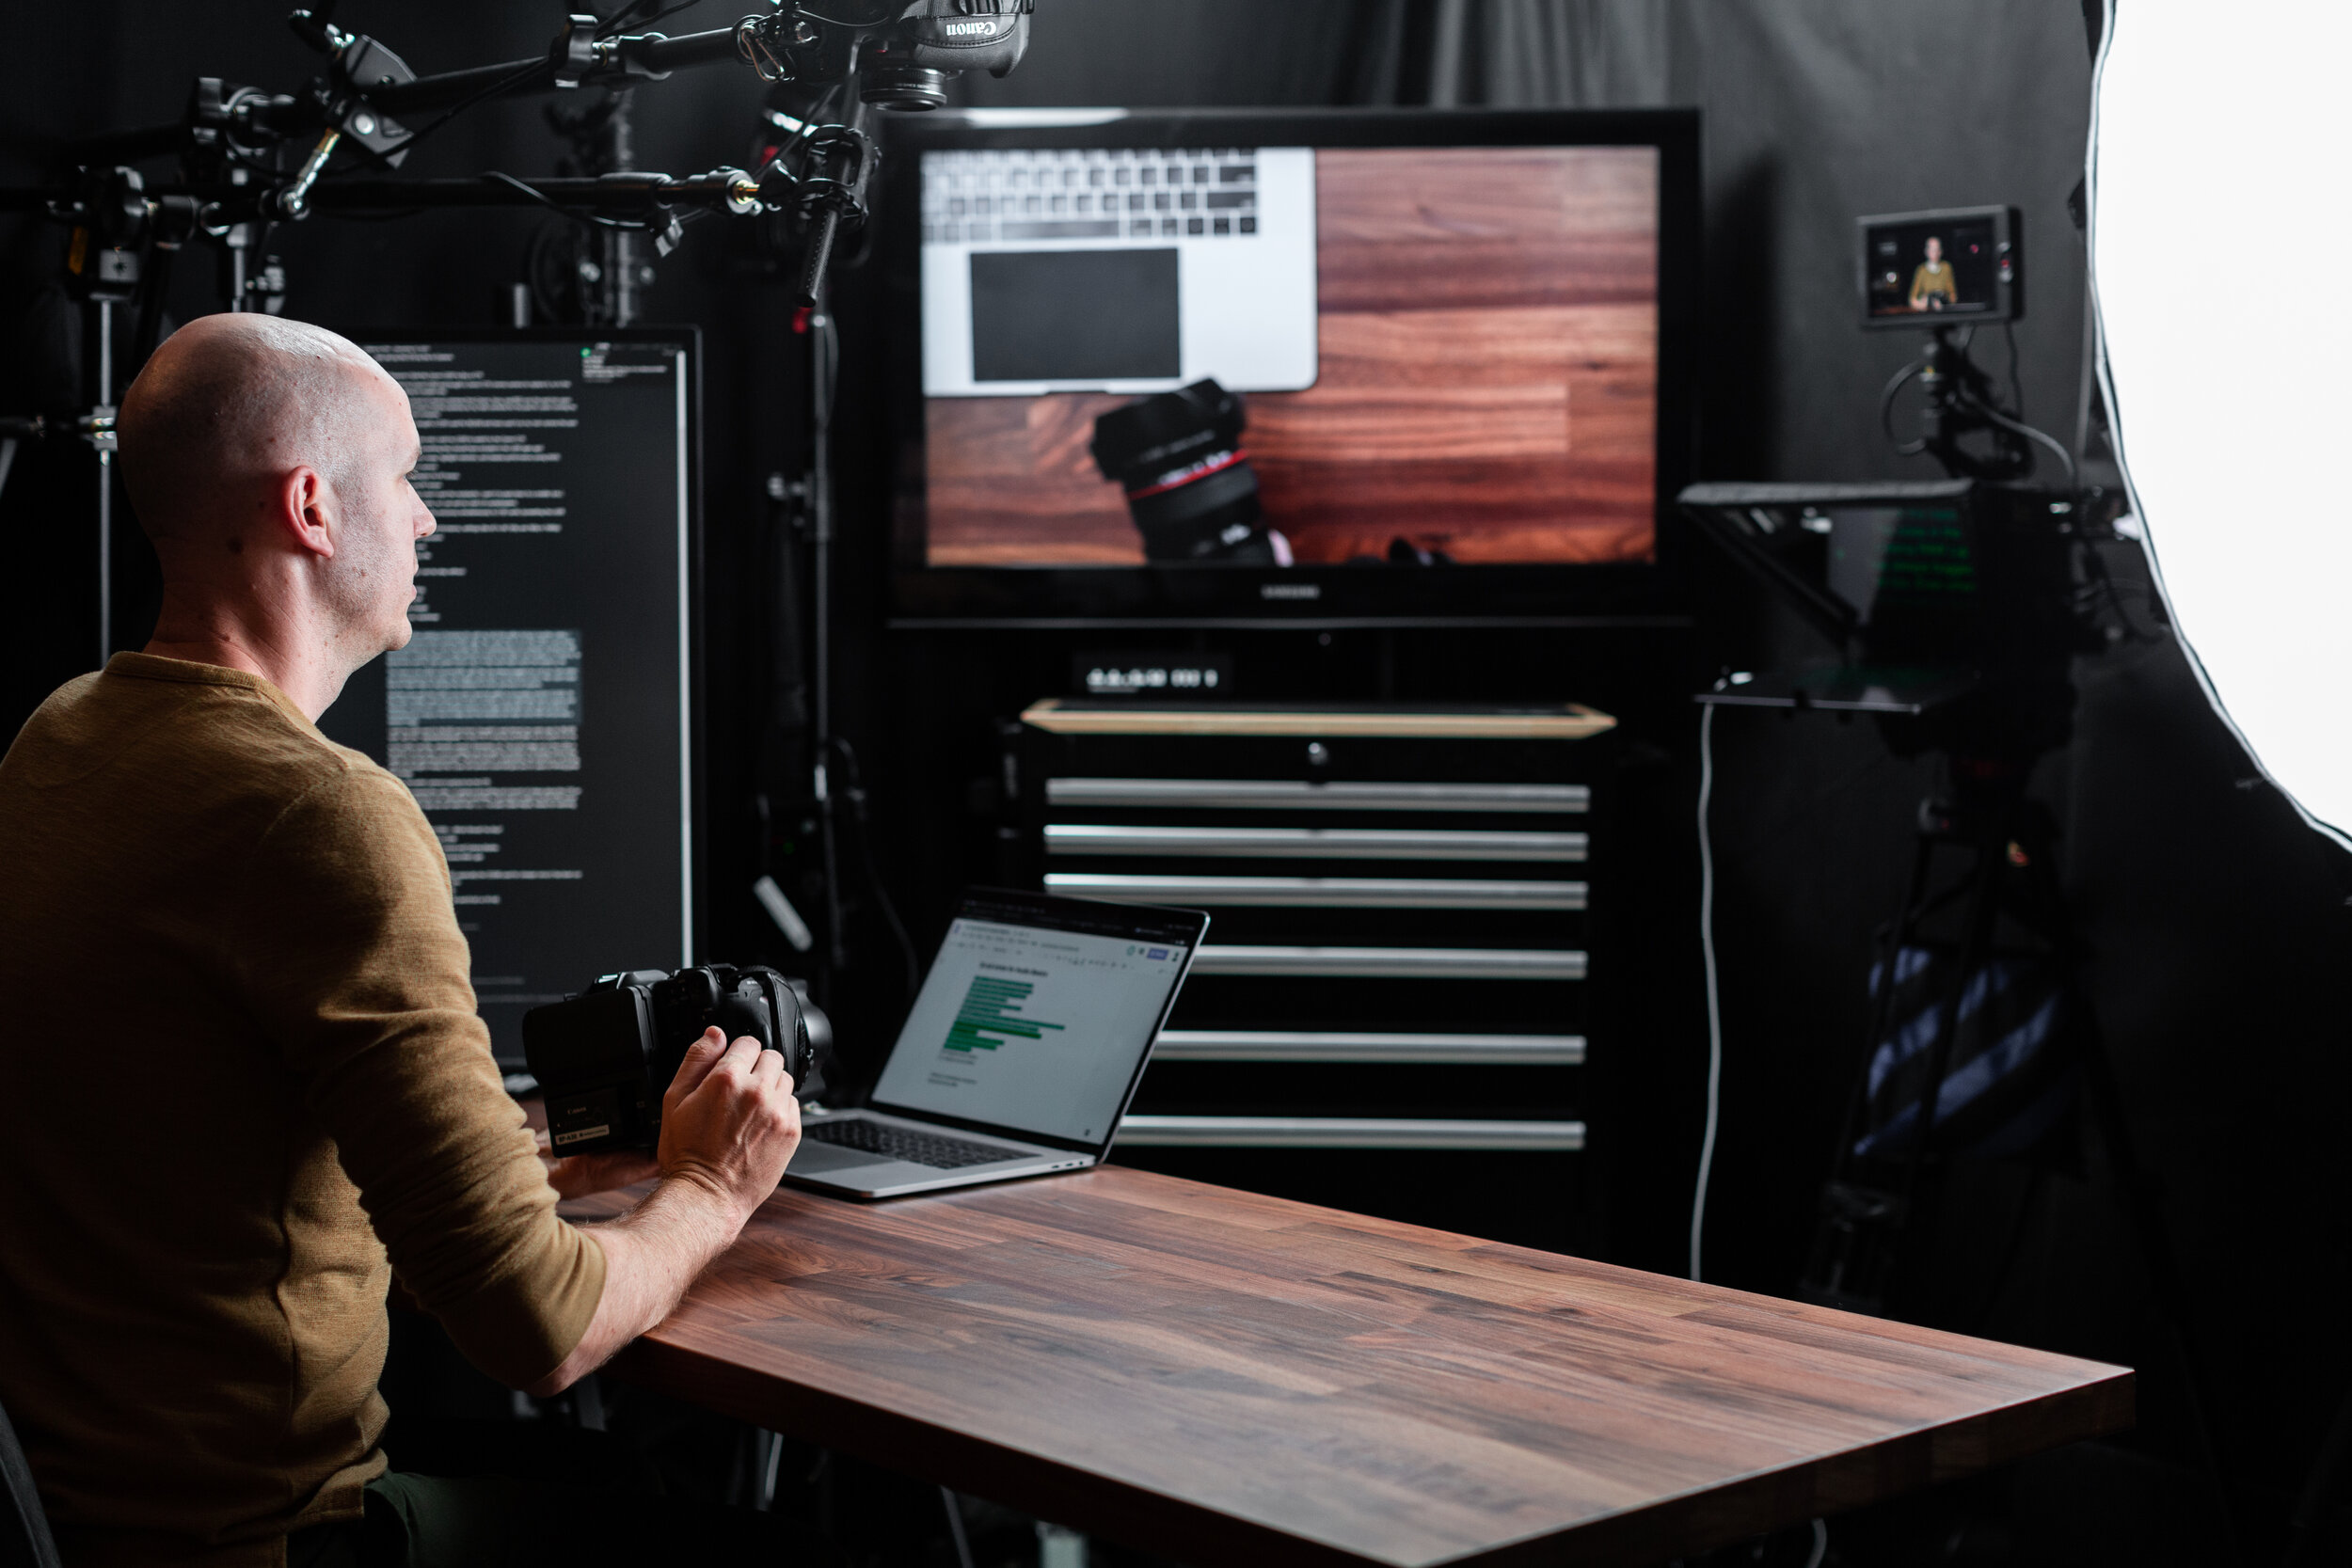
Recording Your Course
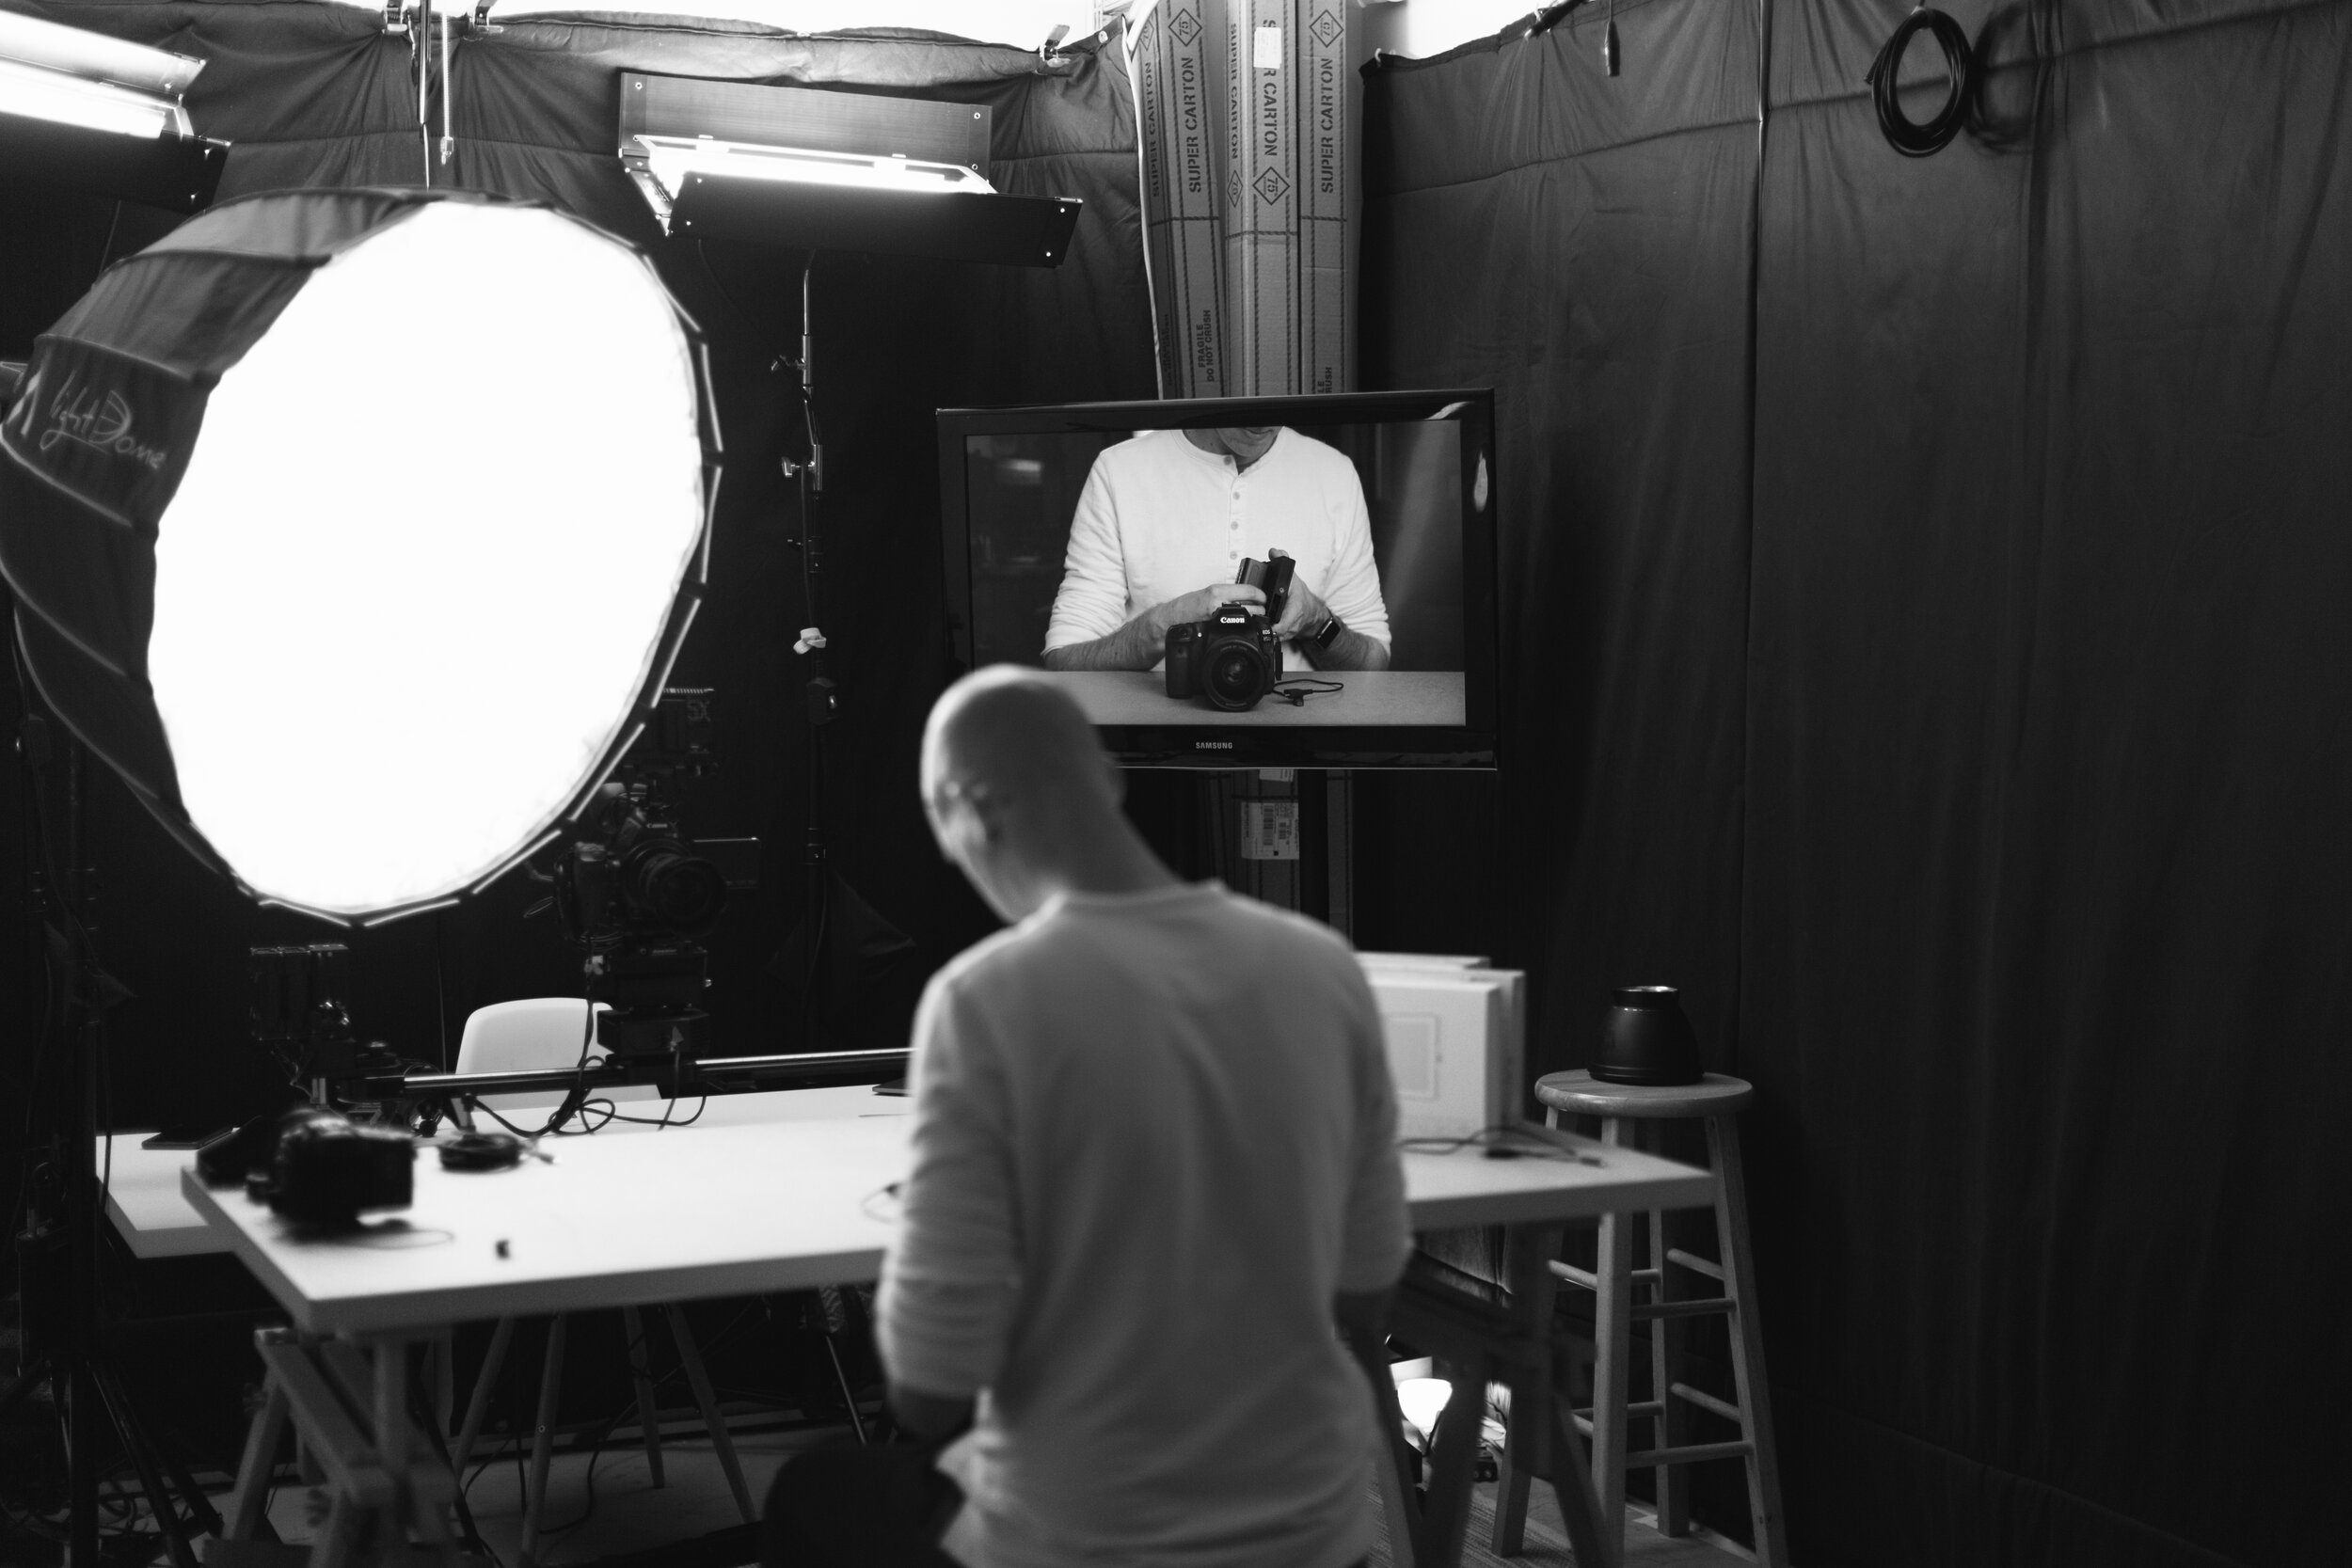


Choose a ‘set’ (background/foreground) that makes sense for your course. It doesn’t need to be Hollywood but it should look nice and not be distracting. If your course is ‘How to Change the Oil in Your Car’ maybe sit in a tidy garage, seven feet in front of a car with the hood up. Now bring that f-stop down to 3.5, bokeh that car. Yeah, that looks nice.
If you’re a Wall Street trader teaching what float, divergence, and leading indicators are you probably shouldn’t record in a Burger King ball pit. Cool contrast but bad look. Choose something that makes sense.
Once you hit record, be yourself. Part of the reason someone is going to buy this is because YOU are teaching it. Don’t stress about making mistakes, that's what editing is for. And also, this is kind of weird but consider a wardrobe change as you move between modules. If the course is longer this will help the students feel like they are moving through the content.
Editing Your Course


This is kind of similar to choosing the set. You need to do something that makes sense. Generally you’ll just want straight cuts that are timed naturally with the pace of your speech (e.g. if you speak slowly you don't want really fast cuts). Add in necessary elements, if you are speaking about a chart, show the chart. If you are demonstrating something on the computer, record your screen and overlay that as you talk. Your editing should be clean and allow the information to be distilled.
You are generally not trying to be overtly distracting (like edits you see on youtube) unless that somehow fits into what you are teaching.
Once you have each video edited, sweeten your audio a touch, thow in a dash of color, and get those puppies exported.
For more advice on video editing, check out our free guide.
Hosting Your Course


There are a few ways to do this and they all have their pros and cons. You can privately host each video on a platform like YouTube, Vimeo, or Wistia and then imbed those videos into a course page or other platform for your students to use.
My preference (and most of my clients) is to use a course platform. Something like Teachable, Udemy or Skillshare. The reason that this is by far the easiest is because course platforms will host your videos and allow you to create homepages, sales pages, curriculums, and e-commerce checkouts. Essentially, it’s a one stop shop and saves a lot of work on your end.
If you go down this route make sure you also set up your profile or ‘school’ so that it’s not empty, your students can find you, and it looks professional. People who aren’t in your audience are going to find you here and you want to make a good first impression.

Speaking of people finding you, students will email you and leave comments for you within these platforms. Respond to them. Be nice to your students, be the professor you wanted to go to office hours for.
Also as a last tidbit it’s nice when instructors maintain their course and keep up to date on current information. For some courses info doesn’t change a lot but for others (like tech) things change all the time. Update a lesson that has become outdated and your course will continue to do well.
I hope this helps you create your course! If you want to go into the weeds on this and learn everything step by step, check out my course covering this subject. I also have a few other courses if you are looking to up your video and editing game!
Overwhelmed by editing your own online course?
Since 2014 I’ve filmed & edited over 20 different online courses for myself and my clients and developed a process for efficiently planning, filming, and editing online courses in any industry.
I can teach you the process & help you create your own professional looking online course quickly and smoothly.